









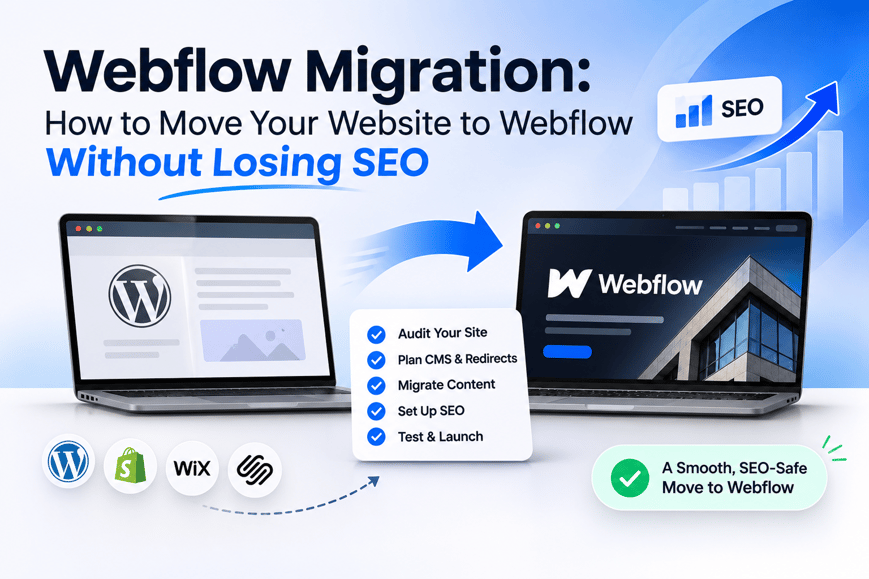
Usually, a Webflow migration fails due to other factors, such as design. It doesn't work with redirects and CMS structure: one 301 is missing, another blog Collection not mapped well and for months traffic goes down. Here's a checklist of content, URLs, redirects, CMS and forms to ensure you can go live without losing what you've worked so hard to build. It is designed for marketing leads, founders and in-house teams that are transitioning from WordPress or another platform.
Why teams move to Webflow, and when not to
Typically teams move for three main reasons, design control, having a built-in CMS and fewer plugins to update. A Webflow website design allows you to design your site without having to battle a theme, while custom Webflow design can mean that there are no limits put on your brand by a template.
However, don't be deceptive when it comes to fit. If you have a vast number of products, it's better to use Shopify. If you have a site with lots of plugins, you might find that it's easier to maintain on WordPress. If this sounds like you, it may not be worth your while to do a Webflow migration.
What moves and what does not
Only content you import moves across. Everything else is rebuilt. Use this table to scope the work.
|
Pages |
Rebuilt in Webflow |
Design and structure are recreated, not copied |
|
Blog posts |
CSV import |
Map fields to a CMS Collection |
|
Images |
Uploaded again |
Add them through the Assets panel |
|
Forms |
Rebuilt |
Recreate notifications and integrations |
|
Plugins |
Replaced |
Each feature needs a native or third-party alternative |
|
Redirects |
Set up again |
Import them from a CSV |
|
Analytics tags |
Added again |
Re-add tracking and tag manager code |
Pre-migration audit
Before you open Webflow, record what you have. Crawl every live URL and export titles, meta descriptions and status codes. Pull a traffic and ranking baseline from Google Search Console so you can compare after launch. List every form and integration too. Skipping this audit is the most common reason a Webflow migration loses traffic.
Copy this small table to get started:
|
URLs |
Every live URL and status code |
Site crawler |
|
Metadata |
Title and meta description per page |
Crawler export |
|
Traffic and rankings |
Top pages, queries, clicks |
Google Search Console |
|
Forms |
Location, fields, destination |
Manual list |
|
Integrations |
CRM, email, chat, payments |
Manual list |
Plan your Webflow CMS collections
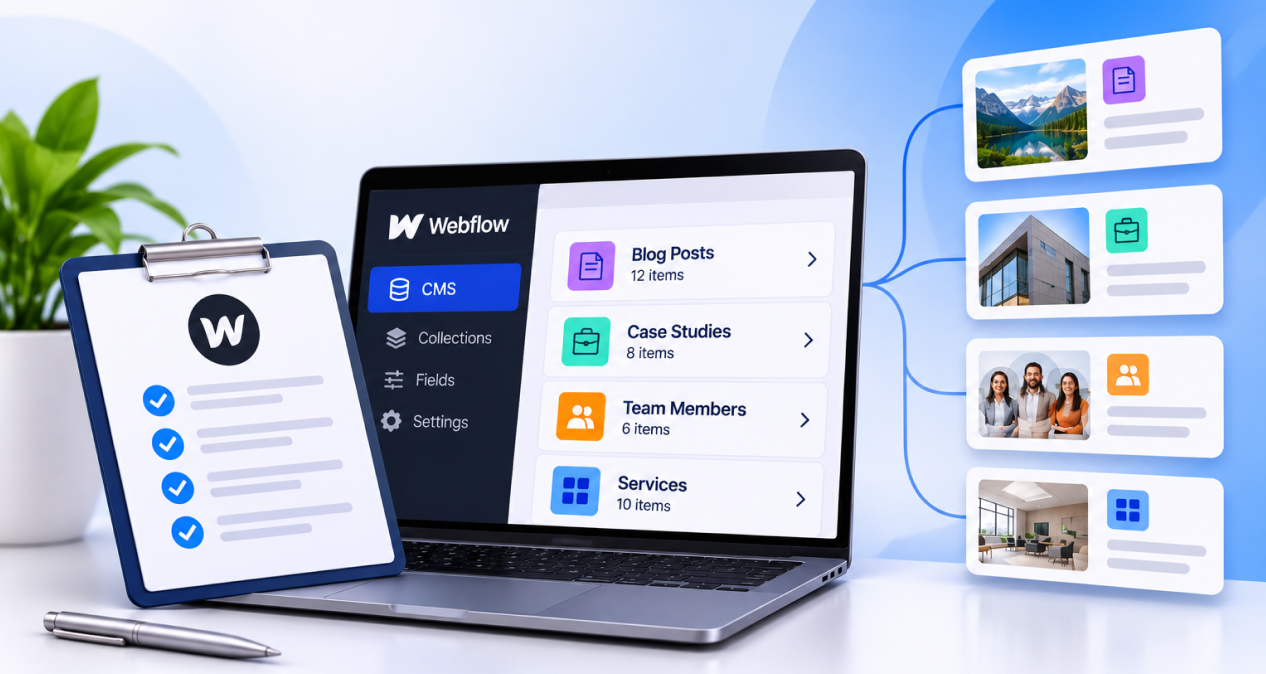
Assign each post type to a Webflow Collection. Assign each custom field to a Collection field. Posts become a Blog Collection. Custom post types, for example case studies or team members, each get their Webflow Collection. Careful Webflow CMS development planning at this stage saves hours later.
Webflow item URLs follow a collection‑slug/item‑slug pattern. Therefore, many old permalinks will change. This detail comes from a third‑party guide. Verify it in Webflow’s documentation before you finalise your URL plan. Also check your plan’s CMS item limit before importing. This will tell you whether you need a plan.
Step-by-step migration process
Work in this order.
Design and rebuild the templates
Pages and design are recreated in Webflow. Build the key templates first: the home page, Collection templates and main landing pages. Upload images through the Assets panel. This is where your Webflow website design takes shape, so settle type, spacing and components before adding content.
Import content into the CMS
WordPress exports content as XML. Convert it to CSV, then import the CSV into a Webflow Collection and map the fields. Check the item limit first, then spot-check several imported posts for broken formatting or missing images.
Rebuild forms and integrations
Forms are rebuilt, not moved. Recreate each one, set up notifications, and reconnect your CRM, email tools and analytics from your audit list.
Set up interactions and test responsive layouts
Add interactions last. Then test every breakpoint, from desktop down to mobile portrait, so nothing overlaps or clips.
How to protect your SEO
SEO loss in a Webflow migration comes down to URLs and metadata. Handle these five things:
- Build the 301 redirect map. List every old path next to its new path. Building a proper redirect map is a key part of a successful migration. Professional Webflow SEO services can help ensure URLs, metadata, and redirects are handled correctly to protect your organic traffic.
- Import redirects by CSV. Use two columns, old paths and new paths. A new import overwrites all existing redirects, so include every redirect each time. Publish the site for them to take effect.
- Carry over titles and meta descriptions from your audit.
- Submit the new sitemap and watch Search Console for errors.
- Keep old URLs where you can. Every URL you keep is one less redirect to manage.
Pre-launch testing checklist
Run this list on your staging site before you publish the Webflow migration.
|
Forms |
Submit each one and confirm delivery |
|
Redirects |
Test a sample of old URLs |
|
Mobile layout |
Check phone and tablet breakpoints |
|
Speed |
Run a page speed test on key pages |
|
Tracking tags |
Confirm tags fire in preview or tag manager |
|
404s |
Crawl staging for broken links |
Launch day and the first 30 days
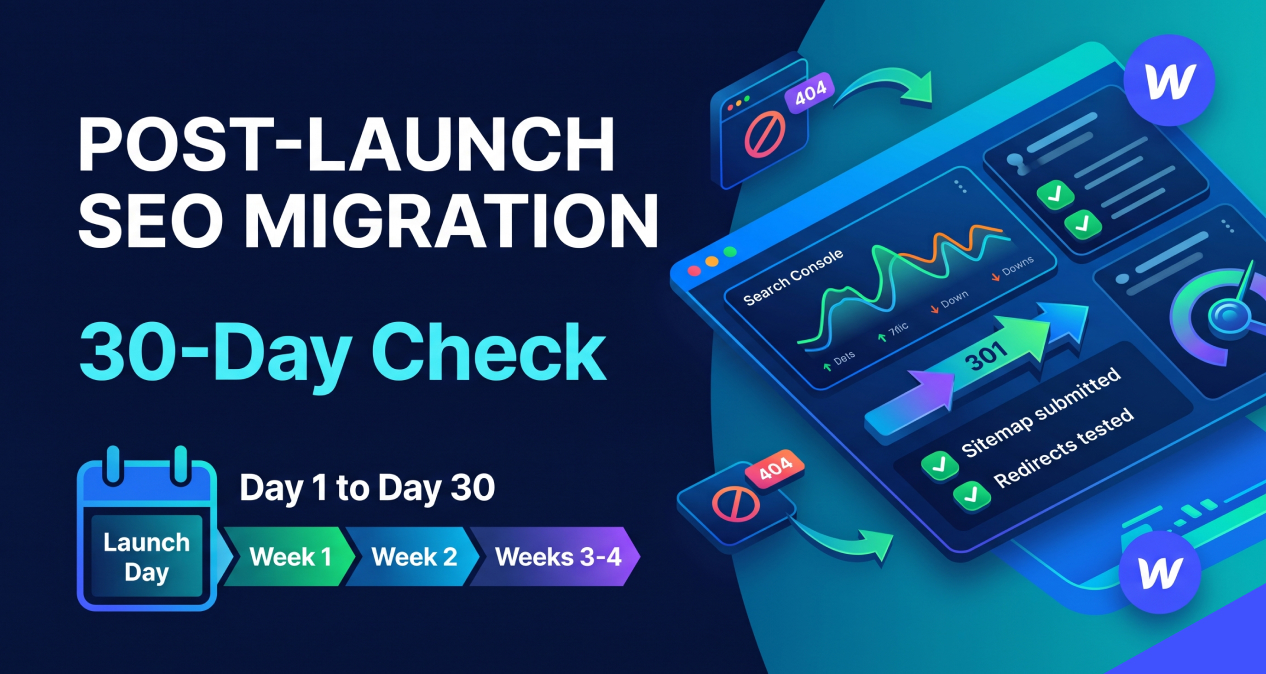
Launch day: publish, confirm redirects work, submit the sitemap and test forms live.
Week 1: check Google Search Console for any crawl errors or indexing issues. Fix any 404 errors that appear.
Week 2: look at the redirects again and compare the number of impressions to the baseline you recorded before the launch.
Weeks 3 and 4: compare the rankings and the traffic to the baseline that you recorded before the launch.
There will be some changes after the launch. Small changes in rankings while Google reprocesses the site are normal. The real problem looks different. Pages may vanish from the index, 404 errors can spike or traffic to pages can fall steadily, especially when redirects break. If you use Webflow migration services, request a post‑launch monitoring plan..
Common mistakes
- Skipping the crawl. Without a crawl, you cannot build a redirect map. Crawl before you start.
- Changing URLs unnecessarily. Keep old URLs where you can.
- Overwriting redirects. Each CSV import replaces the existing list, so keep one master file.
- Forgetting analytics tags. Add them to your launch checklist.
- Designing before fields are set. Finalise CMS fields first so your custom Webflow design fits real content.
- Launching without testing forms. Submit every form on staging.
DIY or hire a Webflow developer?
A small site with a handful of pages and a short blog can be moved in-house if someone is comfortable in Webflow. Larger CMS builds, many changed URLs, integrations and custom interactions are where a partner earns their fee.
A partner brings the redirect map, Collection architecture and a QA process. A Webflow developer for hire also spots problems early, such as field mismatches and URL conflicts. If you want help look for Webflow migration services that include Webflow CMS development, redirect planning and post‑launch checks.
Conclusion
Protect your URLs, plan your CMS and test before launch. A move to Webflow can improve your site without costing you traffic. Redirects and structure matter more than visuals.
Want a Webflow developer for hire to run it? Get your free Webflow migration plan.


